Crocheting Bigger Projects: How To Increase The Size Of Your Crochet Blanket?
Creating a crochet blanket that perfectly fits your needs, whether it be a cozy throw for your living room sofa or a large bedspread, can be a rewarding project. In this blog post, I’ll guide you through various methods to increase the size of your crochet blanket, ensuring that it meets your desired dimensions and style.
Understanding Blanket Sizes
Before diving into the resizing process, it’s essential to have a clear idea of standard blanket sizes. Here are some common dimensions to keep in mind:
- Lovey: 12″ x 12″
- Stroller: 30″ x 35″
- Receiving: 40″ x 40″
- Crib: 45″ x 60″
- Throw: 52″ x 60″
- Twin: 66″ x 90″
- Queen: 90″ x 108″
- King: 108″ x 108″
For more detailed Crochet Blanket Size Charts, and Free Size Calculators, check out my Blog post here: How to Calculate the Size of Your Crochet Blanket – C2C and SC Blanket Size Calculator.
Adding Fringe to a Crochet Blanket:
Adding fringe to a crochet blanket is a wonderful way to give it a unique, personalized touch, and it’s a relatively simple technique that can dramatically change the look of your project. Here’s a basic guide on how to add fringe to your crochet blanket, complemented by the YouTube video I’ve found:
Steps to Add Fringe to a Crochet Blanket:
- Cutting the Yarn: Start by cutting strands of yarn for the fringe. The length of each strand will depend on how long you want the fringe to be. Remember, each strand will be folded in half, so cut double the length you desire for your fringe.
- Folding the Yarn: Take each strand of yarn and fold it in half. This creates a loop at one end and two loose ends at the other.
- Attaching the Fringe:
-
- Identify the spots along the edge of your blanket where you want to attach the fringe. This can be at regular intervals or wherever you feel it would look best.
- Insert a crochet hook through a stitch or space along the edge of the blanket where you want to add the fringe.
- Hook the looped end of your folded yarn strand and pull it partway through the stitch or space, creating a small loop on one side of the fabric.
- Then, pull the loose ends of the yarn through this loop and gently tighten, securing the fringe in place. Ensure it’s snug but not too tight, as this can warp the edge of the blanket.
- Repeating the Process: Continue adding fringe across the edge of the blanket at regular intervals. Make sure the fringes are evenly spaced to give your blanket a symmetrical and professional look.
- Trimming the Fringe: Once all the fringes are attached, you might notice some unevenness in their lengths. Use scissors to trim the fringes so that they are all uniform in length, giving your blanket a neat, finished appearance.
Finishing Touches:
- Comb the Fringe: For a fuller look, you can gently comb the fringes to untwist the yarn fibers.
- Styling the Fringe: Depending on the yarn and your preference, you can leave the fringe straight, braid it, or even add beads for an extra decorative touch.
Here is a YouTube video for Naztazia – How to Add Fringe to a Blanket, that will provide additional insights and visual guidance on this process, making it easier to follow along and perfect your technique.
Fringe can be a playful or elegant addition to a blanket, and it’s a great way to customize and finish your crochet projects. Enjoy experimenting with different yarns and colors to make your blanket truly one-of-a-kind!
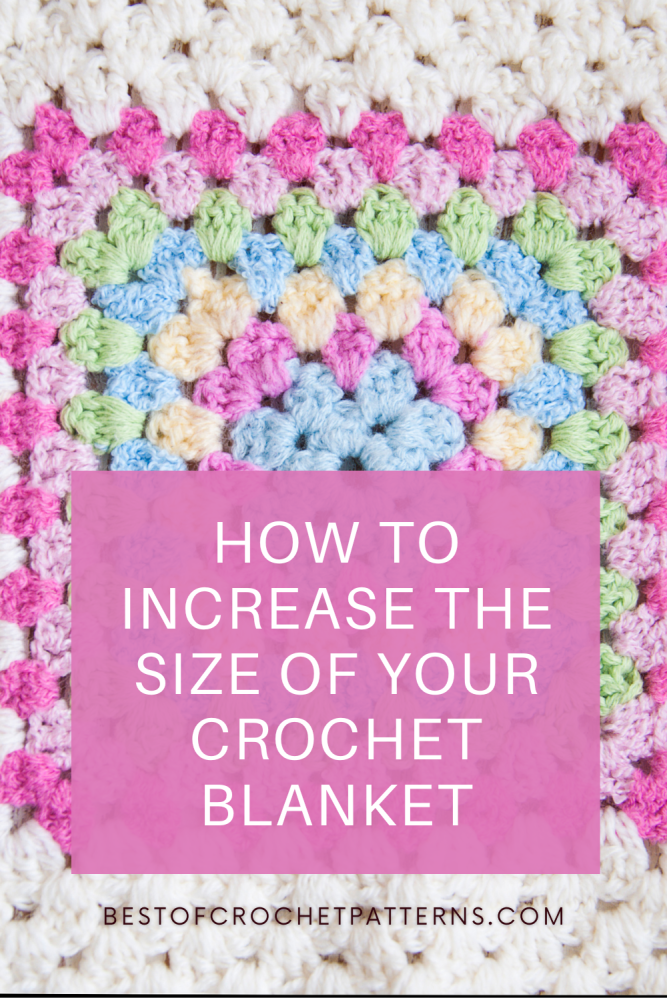
Adjusting Granny Square Blankets
Granny square blankets are wonderfully versatile and customizable, making them a popular choice for crocheters of all skill levels. Whether you’re looking to create a cozy throw or a large bedspread, there are several ways to adjust the size of your granny square blanket to suit your needs.
Increasing or Decreasing the Number of Squares
The most straightforward method to adjust the size of a granny square blanket is by altering the number of squares you crochet.
- For a Larger Blanket, Simply crochet more granny squares and join them. This method allows for great creativity as you can mix and match different colors and patterns for each square, adding a unique flair to your blanket.
- For a Smaller Blanket: Conversely, if you want a smaller blanket, reduce the number of granny squares. This could be ideal for creating baby blankets or small lap throws.
Adjusting the Size of Individual Squares
Another way to resize your granny square blanket is by changing the dimensions of each square.
- Larger Squares: You can make each granny square larger by adding more rounds to each square. This not only increases the overall size of the blanket but can also add more detail to each square.
- Smaller Squares: To make a smaller blanket, simply reduce the number of rounds in each square.
Adding a Granny Square Border
An innovative way to increase the size of your blanket, especially if it’s a tapestry crochet blanket or made with a different pattern, is by adding a granny square border around it. This border can be a continuous granny square pattern that extends around the perimeter of your existing blanket.
- Complementary or Contrasting: You can choose yarns that complement or contrast with your main blanket’s colors and design.
- Adjustable Width: The width of this border is adjustable; you can make it as wide or narrow as you like by increasing or decreasing the rounds of granny square patterns.
- Seamless Joining: Carefully join the granny square border to the edges of your main blanket. This can be done using slip stitches, single crochets, or any preferred joining method that gives a neat finish.
Considerations for Granny Square Blankets
- Consistent Tension: Ensure that your crochet tension is consistent throughout the project. Inconsistent tension can lead to uneven squares or a wavy border.
- Blocking: Blocking your squares before assembling them can help you achieve a more professional and uniform look.
- Pattern Planning: If you’re using different colors or designs within your squares, plan your pattern ahead. This helps in ensuring a balanced and cohesive look for the final blanket.
Granny square blankets allow for a lot of creativity and personalization. By adjusting the number of squares, altering the size of individual squares, or adding a granny square border, you can create a blanket that perfectly suits your desired size and style.
Using Different Yarn Weights
A straightforward method to resize your blanket is to use a different yarn weight than the pattern specifies. Heavier yarns and larger hooks will produce a larger blanket, while lighter yarns with smaller hooks will result in a smaller blanket. Remember to make a swatch to ensure satisfaction with the final texture and size.
You can also use a Free Size Calculators, on my Blog post here, and calculate the size of the yarn you should use to get the size you would like to have: How to Calculate the Size of Your Crochet Blanket – C2C and SC Blanket Size Calculator.
Doubling the Pattern
For a significantly larger blanket, you can double the crochet pattern. This involves increasing both the number of stitches per round and the number of rounds. Keep in mind that this will create a denser and thicker fabric, and you’ll need more yarn.
Modifying the Pattern
If you’re comfortable with crochet, consider customizing the pattern. This could involve changing the yarn type, adding stitches or rows, or altering the stitch pattern. Such modifications allow for a high degree of personalization, ensuring that your blanket is uniquely yours.
Adding Borders to increase the Crochet Blanket Size.
Embarking on a crochet project is always an adventure filled with creativity and skill. However, when it comes to finishing touches, such as borders, it can often be a challenge to find the perfect style and technique to complement your work. Understanding this, I have scoured YouTube to bring you a selection of video tutorials and playlists that are not only easy to follow but are also ideal for enhancing the size and aesthetic appeal of your crochet blanket. Whether you are a beginner or an experienced crocheter, these tutorials cover a range of border styles – from simple and elegant to intricate and bold.
Each tutorial has been carefully selected to ensure clarity, ease of learning, and practicality. They provide step-by-step instructions, making it easy for you to follow along and apply these techniques to your own projects. These videos are perfect for those looking to add a special touch to their blankets, whether it’s for adding extra warmth, increasing the overall size, or simply giving it a more finished and professional look.
Here are some YouTube videos and playlists that provide these invaluable tutorials for crochet borders, perfect for enhancing the size of your blanket and taking your crochet projects to the next level:
– 4 Easy, Beginner Blanket Borders: This video tutorial is great for beginners and provides step-by-step instructions for four simple yet beautiful borders for blankets. Watch it here.
– How to Crochet Easy Borders – 5 Crochet Border Stitch Patterns for Beginners: This video offers a detailed tutorial on five different crochet border stitch patterns, specifically designed for beginners. Watch it here.
– Learn These Easy Borders for Your Crochet Blankets: This video tutorial will show you how to crochet simple yet elegant borders, perfect for adding a finishing touch to your blankets. Watch it here.
– 5 Easy Crochet Borders: This video presents five easy crochet border options that you can quickly learn and apply to your projects. Watch it here.
– Crochet Borders for Blankets Playlist: A curated playlist featuring a variety of crochet border tutorials suitable for blankets. This collection offers a range of styles and complexities. Watch the playlist here.
And you can find more Crochet Border Video Tutorials on my Blog post here.
These tutorials are great resources to help you expand the size and enhance the beauty of your crochet blankets. Enjoy your crocheting journey!
Final Thoughts
Resizing a crochet blanket is a creative process that allows for a lot of flexibility and customization. Whether you’re adjusting a granny square blanket, using different yarn weights, or doubling the pattern, each method offers its unique charm. Keep in mind that it’s essential to continually measure your work against your bed or an existing blanket to ensure that you’re on track with your desired size.
Remember, crocheting is not just about following patterns to the letter; it’s about making something that fits your personal needs and aesthetic preferences. So, grab your crochet hook and yarn, and let your creativity flow!
Thank you for reading my blog.
Have a beautiful day, and enjoy crocheting.
Katja
P.S. Join my email list and Download a Free Winnie the Pooh Pillow Pattern here.
Related posts:
 How to Calculate the Size of Your Crochet Blanket – C2C and SC Blanket Size Calculator
 Crochet Border Patterns for Beginners: Simple Techniques for a Professional Finish – Video Tutorials
 How Much Yarn Do You Need For A Blanket? – C2C and SC Yarn Calculator
 Crochet patterns using scrap yarn – how to use all the yarn that remains